Position vs. Symmetry – Relative to a Datum Axis
This video is in response to a question that we received on our question line from Alex. His question is as follows: “Is there a best-practice way to use Position (instead of Symmetry) to control...

This video is in response to a question that we received on our question line from Alex. His question is as follows: “Is there a best-practice way to use Position (instead of Symmetry) to control...

In this question line video, Brandon discusses Virtual Condition and whether it can apply at Regardless of Feature Size (RFS). What is Virtual Condition (VC)? When a feature is controlled with the Maximum Material Condition...

In this video, we respond to a question asking how using Geometric Dimensioning and Tolerancing can affect internal or vendor-provided manufacturing and inspection processes. It is important to remember that the goal of GD&T is...
What is the difference between unilateral and bilateral tolerance in a profile of a surface callout? In this post, Brandon explains the difference and gives examples of how they are used. Profile of...
This video is in response to a question that we received on our question line from Amar. Amar’s question is as follows: “If we are given a BASIC radius of 10mm, and on the radius,...
Orthographic views allow us to represent a 3D object in 2D on a drawing. Orthographic views can show us an object viewed from each direction. How the views are laid out on a drawing depends...
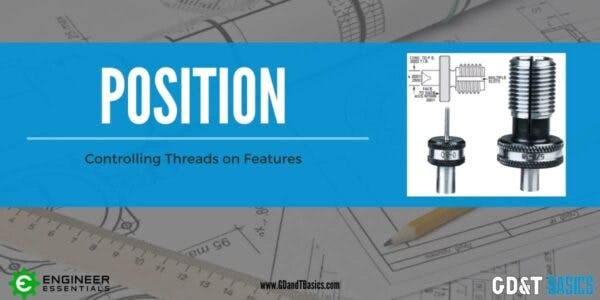
This video is in response to a question that we received on our question line from Tim. Tim’s question is as follows: “We tend to use true position on threaded holes. Is this valid? If...
This video is in response to a question that we received on our question line from Jamee. Jamee’s question is as follows: “For parallelism of a circular feature of size (axis) can you use two...

This video is in response to a question that we received on our question line from Lokesh. Lokesh asked us if a material modifier can be used with cylindricity. Geometric Dimensioning and Tolerancing modifiers are...

This video is in response to a question that we received on our question line from Amber. Amber asked us if the tolerance value for circularity can be obtained by subtracting the upper limit of...
This video is in response to a question that we received on our question line from Ignacio. Ignacio asked us if it is a bad practice to reference three datums in a single drawing callout...

Ever wonder how surface finish is measured? For inspection, we use a device called a Profilometer. In this article, we will show you how profilometers work and highlight their advantages and limitations. What is a...
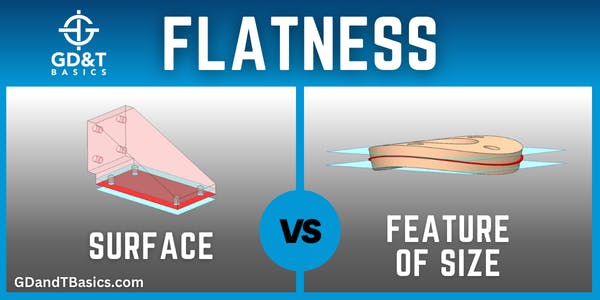
In this video, Brandon discusses the difference between measuring Flatness of a Surface and Flatness of a Feature of Size (FOS). Flatness of a Surface Surface flatness is the type of flatness that most people...

A question we are often asked here at GD&T Basics is, “what is a basic dimension?” – These dimensions are often fairly confusing as they look very similar to other dimensions you may be familiar...

In this video, Brandon discusses basic dimensions and why they should not be recorded on an inspection report. What Are Basic Dimensions? Basic dimensions are used in Geometric Dimensioning and Tolerancing to describe the theoretically...
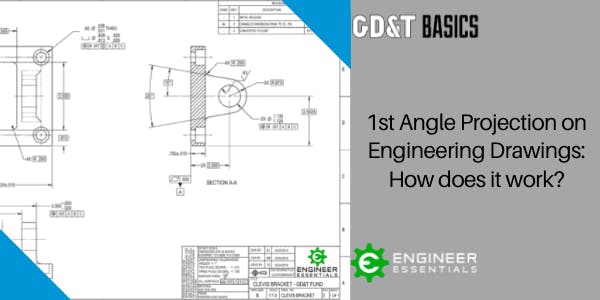
This post is in response to a question that we received on our question line from Gilroy. Gilroy asked us about the drawing projection method in an example problem that was a part of our...

Do you know how dimensions and tolerances for complex parts are measured? Often, a coordinate measurement machine or CMM is used. In this article, we will look at different types of CMM’s and discuss how they work and when they are used. What is...
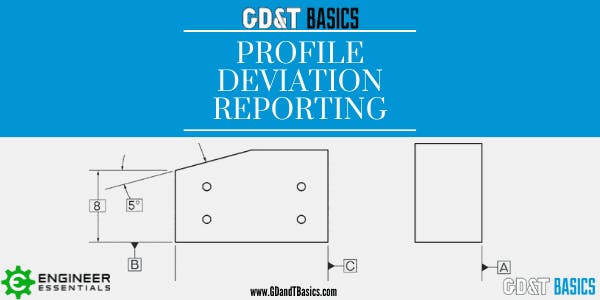
This video is in response to a question that we received on our question line from Brandon. The question is as follows: “I have profile tolerance on a flat surface of 0.2 mm with respect...