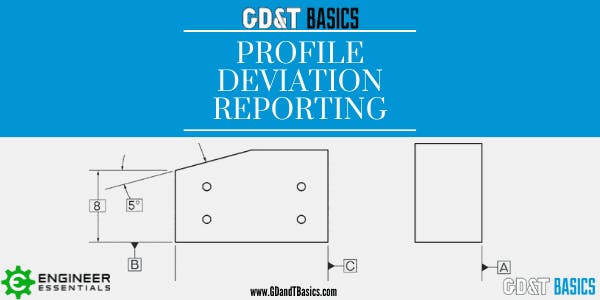
This video is in response to a question that we received on our question line from Brandon. The question is as follows: “I have profile tolerance on a flat surface of 0.2 mm with respect to 3 datums. Now measuring with a CMM, I get deviations to the negative and positive side of nominal. For example, I get (-0.07mm) min and (0.02mm) max. So, will my total measured profile value be addition of the absolute values of min and max (i.e.: 0.07 + 0.02 = 0.09 mm)? Please let me know.”
Profile and position are not +/- tolerances, but sometimes it is convenient to use +/- values to check them during the machining process. It is easy for this to cause confusion when using a CMM since it does more of the thinking for you. This is a very common question that we have encountered frequently on visits to many customer sites.
With a total tolerance of 0.2 mm, the tolerance zone will be divided equally on either side of the true surface profile. The profile in Brandon’s example is a flat surface, so we can visualize the tolerance zone as two parallel planes that are 0.1 mm above and below the true surface profile. Any given element on the surface must be between the two parallel planes that define the tolerance zone.
However, profile is reported as a total deviation value. The coordinate measuring machine (CMM) report should not provide minimum and maximum values for surface profile. It is checking the surface for total deviation from the true surface profile, and it should report that as a single value. In other words, the report will show a total deviation but not whether the element was to the inside or outside of the true surface profile.
In Brandon’s example, he was able to see the deviation from the true profile that the CMM detected in each direction. The maximum deviation from the true profile was -0.07 mm for one element and +0.02 for another. Typically, CMM software will allow access to these values for troubleshooting purposes. However, these numbers are not part of the standard CMM report for surface profile deviation. The CMM report should double the value of the maximum deviation from true surface profile, reporting that the total deviation of the surface is 0.14 mm (0.07 x 2). This is commonly mistaken for a failing value. However, what the CMM report truly means is that the surface profile will pass for tolerance values up to 0.2.
CMM reporting for position tolerance is similar. For example, a circular feature may have an axis that varies from the true position by a certain amount in the x and y directions. However, the CMM reports the position error as a size for the cylindrical tolerance zone that is required to encompass the location error. Note that position reporting does not give a min/max or +/- value either.
Thanks for checking out our video and article. Watch for more question and answer videos coming soon. Also, keep in mind that our team here at GD&T Basics is ready to help with any questions or training needs that you may have.
Interested in Receiving More Engineering Print and GD&T Tips?
Sign up to join our mailing list and also receive a free GD&T Wall Chart
Join our Mailing List
