
Considering Form in Tolerance Stack-Up
In this Question Line video, Jason reviews a simple part assembly to show how geometry and form factor into the tolerance stack-up analysis.

In this Question Line video, Jason reviews a simple part assembly to show how geometry and form factor into the tolerance stack-up analysis.
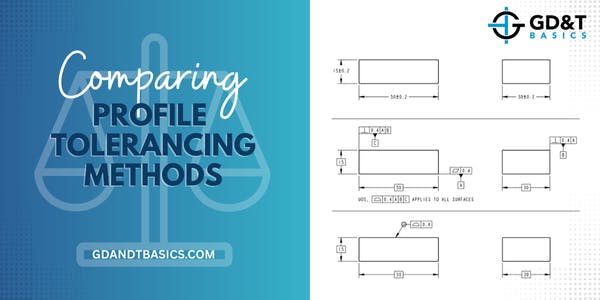
Jason compares three profile tolerancing methods and explains which option he would recommend.

In this Question Line video, Jason reviews a submitted drawing, explaining the difference between flatness and parallelism, and gives options on how to tolerance the drawing based on what is critical to the design.

In this Question Line video, Jason compares flatness applied to a feature of size with flatness applied to a surface.

In this Question Line video, Jason explains how to calculate the flatness tolerance of a surface for a given example based on the size tolerances and Rule #1.
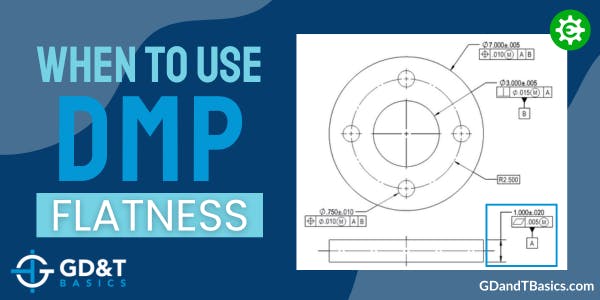
Brandon explains DMP flatness, its potential issues when used on stacking parts, and an alternative method for controlling flatness on these parts.

In this Question Line video, Jason answers questions regarding datum targets and applying flatness and profile of a surface.
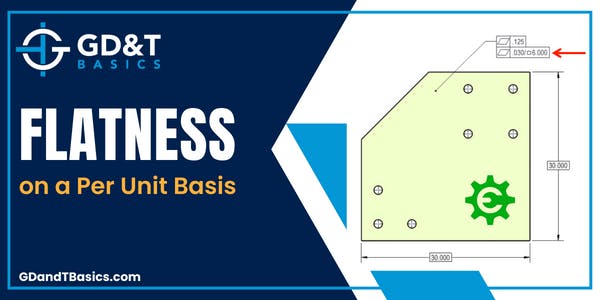
Jason discusses form controls on a per unit basis using the example of controlling flatness on a large surface in this Question Line Video.
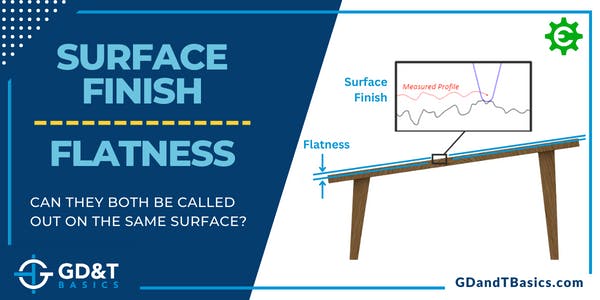
Surface finish and flatness both limit the amount of variation in a surface – one at the micro level and one at the macro level. Is it permissible to call out both on the same surface?
Check out this question brought up about Flatness in our GD&T Fundamentals Course. We get a lot of questions about when flatness can be applied and how datums can be used with this. There are...