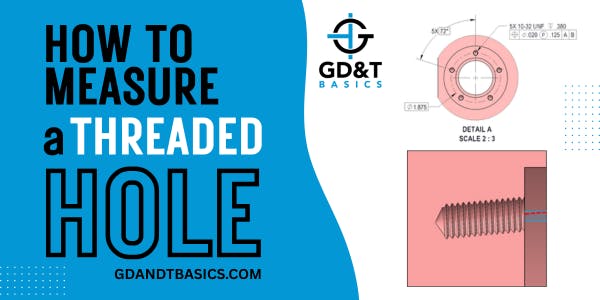
In this Question Line video, Jason answers the following question regarding how to measure a threaded hole:
I have a question about using a thread hole location gauge to inspect true position of thread hole. When we use a thread hole location gage to get pitch diameter of thread (get a derived center line), do we need to take the measured feature down into the thread hole or keep it above as a projection feature to inspect?
In this video, Jason explains how threaded hole location gauges are used to inspect the axis of the pitch cylinder diameter for an internal threaded feature. He also highlights the role of the projected tolerance zone modifier and discusses why it’s the most practical and functional specification to put on a drawing for internal threaded features that have a clearance hole.
Looking for answers to your GD&T questions? Submit your question to our GD&T experts at the link below!
https://www.gdandtbasics.com/share-your-gdt-questions/
If your question is selected, we will notify you when our video answer is posted to our YouTube channel.
* If you are a current student, reach out to us directly and we will get you into contact with your instructor. Active students’ questions receive a direct response within 24-48 hours.
Stop hunting through pages. Get our GD&T Symbols Chart—your quick reference guide with every symbol on one page.
Save it to your desktop or print it out for quick reference. We’ll send the digital chart straight to your inbox. No spam, just helpful GD&T resources.
Get Your Free Chart
