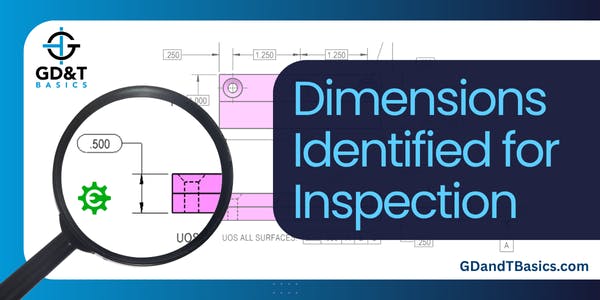
In this Question Line video, Jason answers the following question regarding dimensions identified for inspection:
I had a part manufactured to the incorrect tolerance recently and the rebuttal from the machinist was that I used an inspection dimension and that is purely for QC and is not a driving dimension. Is this correct?
In this video, Jason reviews the submitted drawing, shown above, featuring a dimension marked with an oval. While this oval is often used in industry as a quality control symbol to highlight key features, Jason explains that this practice isn’t formally recognized by ISO or ASME standards for inspection annotations. He emphasizes that every dimension on a drawing is relevant to manufacturing and must meet its specifications—regardless of whether it’s inspected. The discussion also covers related topics such as over-defining a drawing, reference dimensions, and basic dimensions.
Looking for answers to your GD&T questions? Submit your question to our GD&T experts at the link below!
https://www.gdandtbasics.com/share-your-gdt-questions/
If your question is selected, we will notify you when our video answer is posted to our YouTube channel.
* If you are a current student, reach out to us directly and we will get you into contact with your instructor. Active students’ questions receive a direct response within 24-48 hours.
The one-page GD&T reference that you will use every day
A visual breakdown of every core GD&T symbol and what it controls, all on one page. Bookmark it. Print it. Actually use it.
Download the Chart

