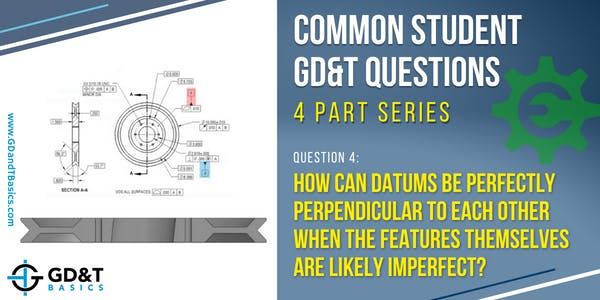
We receive many GD&T questions from our students, and in a recent live instruction webinar, we answered four that are commonly asked. We are now making this available to everyone in a four-part series on our blog and YouTube channel!
Previously, we answered the questions:
Question #1: Can a single point (without clocking) be used as a secondary datum in a feature control frame?
Question #3: Can my virtual conditions be the same diameter for a shaft (boss) and bore for the actual parts?
Today we are answering question number 4:
Question #4: How can datums be perfectly perpendicular to each other when the features themselves are likely imperfect?
To answer this question, we first need to review datums and datum features. Datum Features are tangible surfaces or features of size that are usually important functional features of the part. These features are indicated on your GD&T drawing by a datum feature symbol, and other features reference them in their feature control frames. However, actual manufactured features are not perfect. To control features, we need exact points, lines, and axes. This is where Datums come in – Datums are derived from the datum features and are exact points, lines, and axes simulated by measurement equipment. Datums are theoretical and are always perfect and orthogonal.
Back to our question – how can datums be perfectly perpendicular to each other when the features that they are derived from are not perfect? We will discuss this using the example drawing of a pulley, shown in Figure 1, below.
Figure 1: Pulley Drawing with Datum B Axis Orthogonal to Datum Plane A
In this example, we see that Datum Feature A is the flat surface of the pulley, and Datum Feature B is the ID of the central bore. Datum A, derived from Datum Feature A, would be a datum plane. Datum B, derived from Datum Feature B, would be the axis of the cylindrical bore. How do we make sure that the simulated Datum axis B is orthogonal to Datum plane A, when the actual ID of the pulley is likely to be tilted? Our datum features are not perfectly orthogonal, so how do we ensure that the simulated datums are?
We do this by utilizing two different envelopes, termed the Unrelated Actual Mating Envelope and the Related Actual Mating Envelope by the ASME Y14.5 standard, to capture the two axes.
To find the axis of the center bore, we would use the Unrelated Actual Mating Envelope (UAME). This envelope is a perfect cylinder that expands and contacts the highpoints of the irregular surface. The axis of this envelope is the actual axis of the feature, not the Datum axis. We would use this axis when checking the perpendicularity of this feature to Datum A.
Figure 2: Unrelated Actual Mating Envelope of Center Bore
This bore feature is also indicated as Datum Feature B. As we saw in Figure 2, the axis of this feature is clearly not perpendicular to Datum A, and is not the Datum axis. So how do we find the datum axis?
To find Datum axis B, we use the Related Actual Mating Envelope (RAME). This envelope is also perfect in form and contacts the high points of the irregular surface – however, it does this while remaining orthogonal to any higher precedent datums. In Figure 3, you can see that this cylinder would expand inside the ID of this bore, contacting the high points of the surface, while remaining perpendicular to Datum A. The axis of the RAME is Datum Axis B.
Figure 3: Related Actual Mating Envelope of Center Bore
Conclusion
The feature axis and the datum axis are two different things, created by using two different envelopes to capture the axes. The Unrelated Actual Mating Envelope catches the highpoints of the feature and is used to capture the feature axis. The Related Actual Mating Envelope is used to find the Datum axis by first being oriented to higher precedented datums and then capturing the highpoints of the feature.
The feature axis is used to check perpendicularity of that feature to Datum A. Once that feature is qualified by inspection, we would then use the RAME to create the Datum Axis B. Other features on the part could then be located back to Datum axis B.
Note – The ASME Y14.5 standard only defines conceptually how the part must be checked, using UAME and RAME. It does not detail how the part must be checked manually or virtually. It is up to us to ensure that we are utilizing our measurements appropriately to follow the standard.
If using a CMM, you do not need to take two different measurements (two different point clouds) of the bore cylinder when inspecting this part. You only need to take the measurement once, but to utilize the information correctly. This is usually done behind the scenes in the software, but if not, or if we are utilizing manual equipment, we need to ensure that the point cloud is interpreted differently when determining the Feature Axis (using UAME) and the Datum Axis (using RAME).
For a more detailed explanation in answer to this question, watch the webinar recording linked below:
The one-page GD&T reference that you will use every day
A visual breakdown of every core GD&T symbol and what it controls, all on one page. Bookmark it. Print it. Actually use it.
Download the Chart


