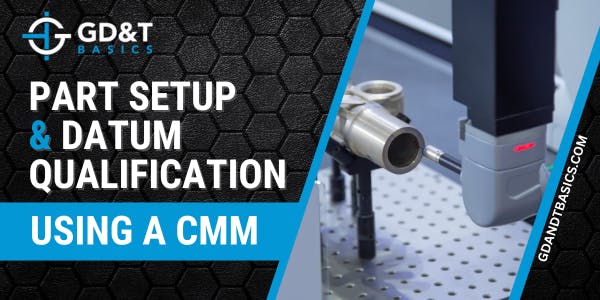
GD&T Basics has partnered with Mitutoyo to demonstrate how to set up and inspect a part using a CMM. In this video, we examine a part designed as a training aid by Mitutoyo, inspecting it using the Mitutoyo CRYSTA-APEX S SERIES programmable CMM. Brandon John, the Engineering Training Manager for GD&T Basics, discusses the part setup, the creation of the datum reference frame, and datum qualifying. Part set up and inspection are performed by Javier Vazquez-Ortiz, an application engineer for Mitutoyo.
This video focuses on the datum features of the part drawing and the inspection process for qualifying those datums. You will find timestamps for each segment of the video below.
Timestamps:
00:00 – 03:09 Brandon reviews the part drawing and discusses the datums listed on the drawing. Datum A is identified at the primary datum.
03:09 – 04:42 Javier runs the inspection process for flatness on datum feature A on the CMM and Brandon reviews the measurement report for the flatness inspection.
04:42 – 6:59 Brandon reviews datum feature B on the part drawing.
06:59 – 8:20 Javier runs the inspection process for perpendicularity of Datum B to Datum A and Brandon reviews the measurement report for the perpendicularity inspection.
08:20 – 10:20 Brandon reviews datum feature C on the part drawing.
10:20 – 13:32 Javier runs the inspection process for datum feature C and Brandon reviews the inspection report.
Interested in learning more about GD&T Inspection?
Register for any of our online courses, and receive hours of bonus videos and explanation tutorials.
Sign Up Today
