What is GD&T? If you are involved in design or manufacturing, you may be familiar with the term, “GD&T,” or “Geometric Dimensioning and Tolerancing”. Geometric Dimensioning and Tolerancing is a set of rules and GD&T...
Orthographic views allow us to represent a 3D object in 2D on a drawing. Orthographic views can show us an object viewed from each direction. How the views are laid out on a drawing depends...
A question we are often asked here at GD&T Basics is, “what is a basic dimension?” – These dimensions are often fairly confusing as they look very similar to other dimensions you may be familiar...
This post is in response to a question that we received on our question line from Gilroy. Gilroy asked us about the drawing projection method in an example problem that was a part of our...
Surface finish can be a confusing subject, especially when it comes to units or the difference between Ra and Rz. In this article, we will provide a broad overview and answer some of the most...
Everyone understands the simple plus or minus tolerances of coordinate dimensioning. So why use GD&T instead? Here are four reasons that GD&T has an advantage over coordinate tolerancing… What are the advantages of GD&T...
**As of April 1, 2022 – Engineering Drawing Basics has been renamed to Print Reading and Tolerances. The course content did not change, we simply updated the name to better reflect the product.** Engineer Essentials,...
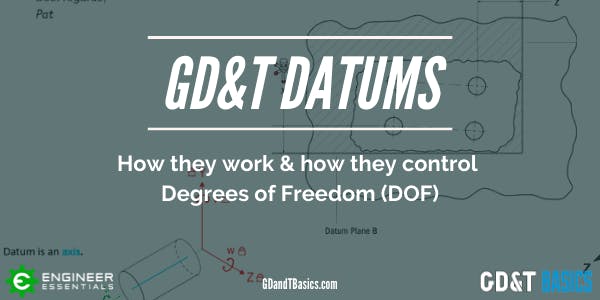
In this video, Tom explains how datums work, together with a datum reference frame, to allow you to inspect an imperfect part. Datum Fundamentals A manufactured part will never be perfect. When inspecting a manufactured...
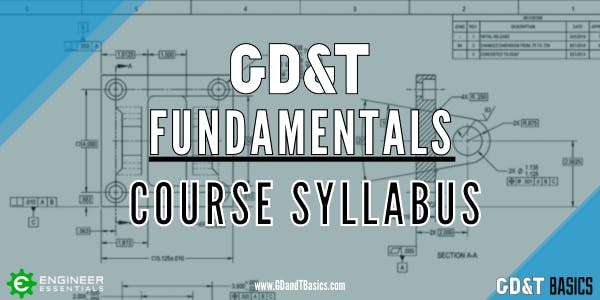
Take a look below for a complete list of what we cover in our GD&T Fundamentals Course. We are confident this will be the best GD&T course you will find anywhere!